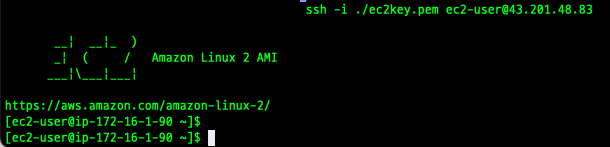
기본적으로 EC2 인스턴스에 접속하는 방식은 키 페어를 사용합니다.
키 페어를 사용하여 접속하는 것은 보안상 좋은 방법이지만, 그만큼 번거로운 작업입니다.
따라서 EC2 인스턴스에 키 페어가 아닌, ID/PW 방식으로 접속하는 방법을 알아보겠습니다.
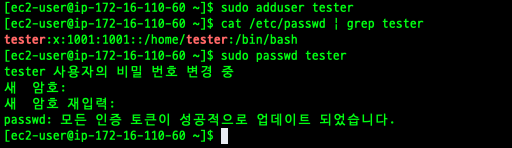
1. 인스턴스에 접속하여 사용자를 생성하고 패스워드를 설정합니다.

2. /etc/sudoers에 쓰기 권한을 부여하고 편집을 시작합니다.

'user name' ALL=(ALL:ALL) ALL3. 파일의 제일 하단에 위와 같은 내용을 추가한 뒤 저장합니다.

4. /etc/ssh/sshd_config 파일을 수정합니다.


5. ‘PasswordAuthentication no’ 부분을 ‘yes’ 로 수정한 뒤 저장합니다.
(혹은 61번 째 줄의 주석을 제거하고 63번 째 줄을 주석처리합니다.)

6. sshd를 재시작합니다.
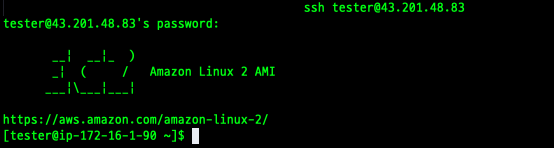
7. 모든 작업이 완료 되었다면 아이디, 패스워드를 사용하여 인스턴스에 접속이 가능해집니다.